Is it time to teach your child about verbs? If so, you might be feeling a little anxious about where to start–but don’t worry because I’m here to help! Watch my video to discover the easiest and most memorable way to teach your children all about this important part of speech.
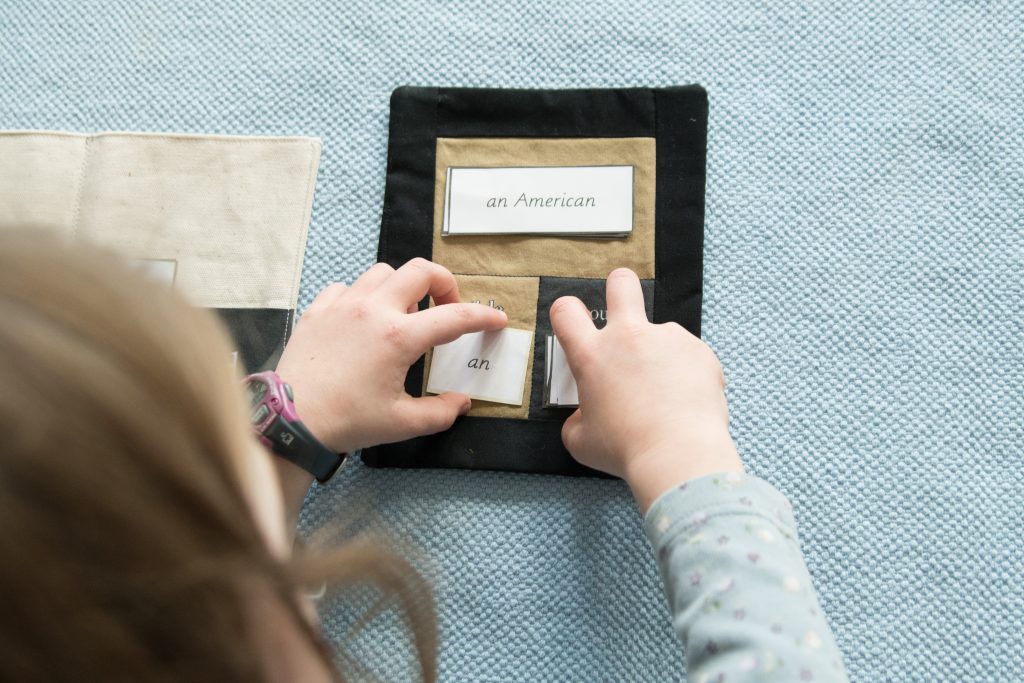
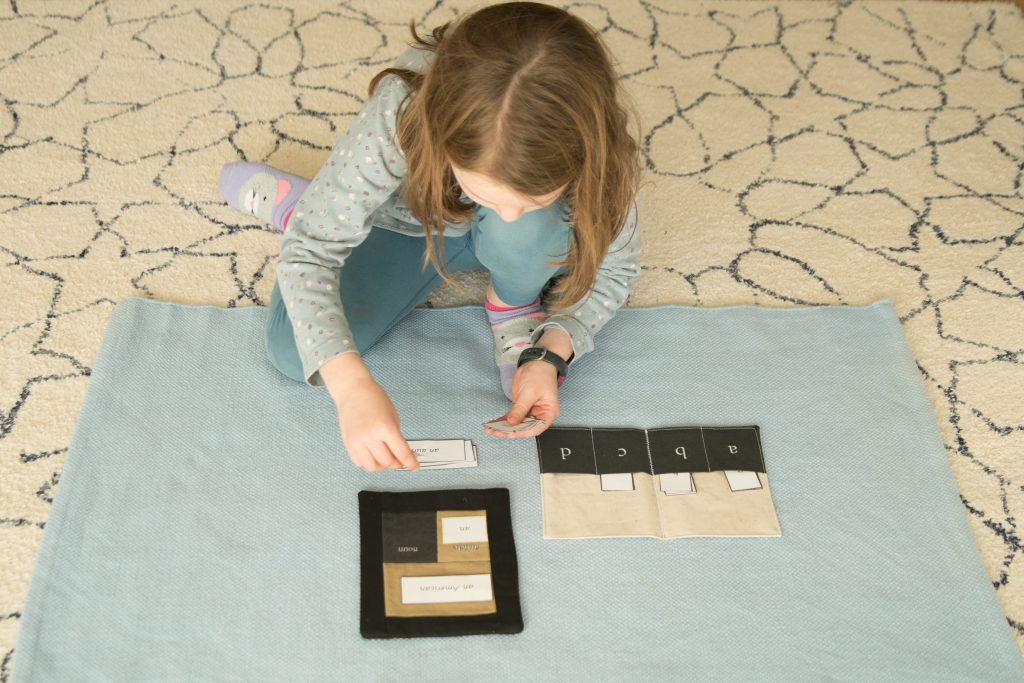
Hey Homeschoolers! Head over to my Youtube channel to watch my tutorial on how to introduce nouns to your children the Montessori way! This is the first tutorial in my continuing series, featuring videos that explain exactly how we taught our children all about the parts of speech.
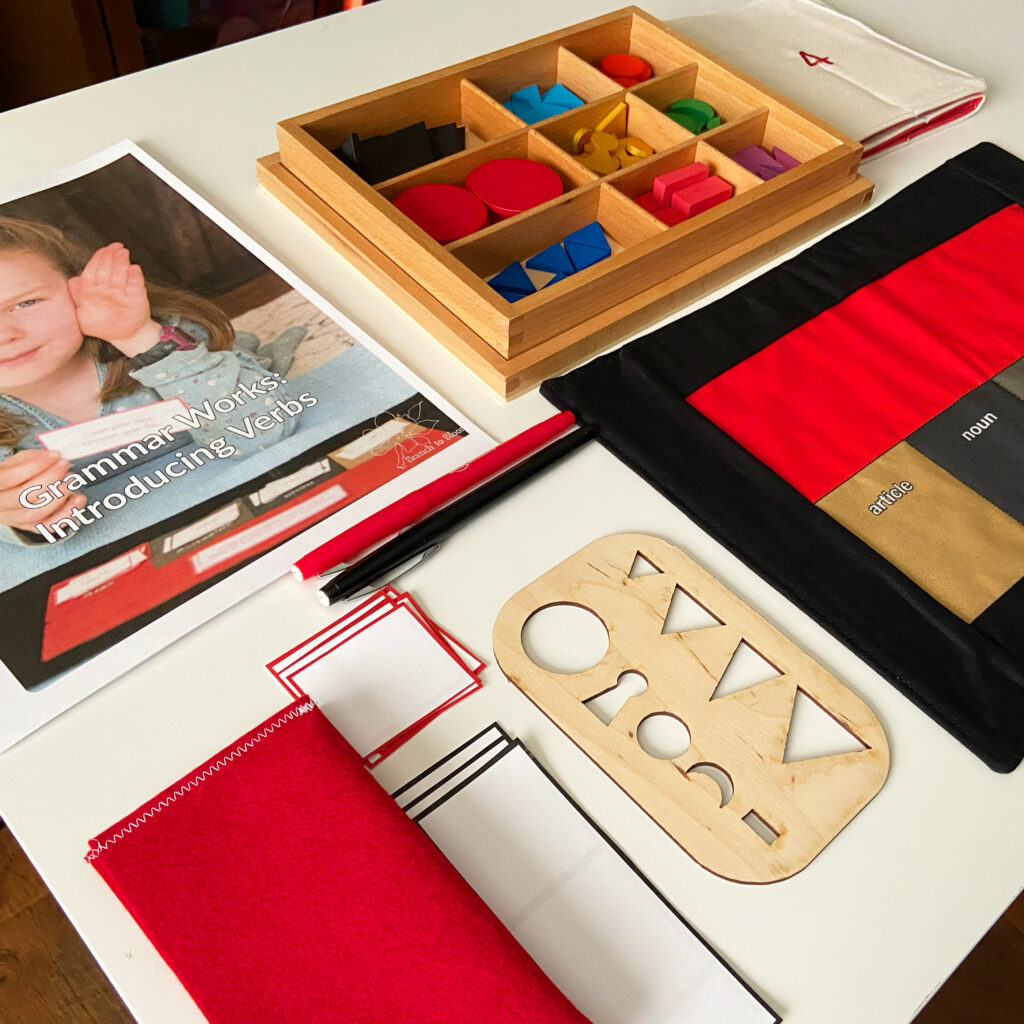
Montessori grammar work is simple, hands-on and memorable.
I love the Montessori approach to grammar because the concise, simple and sensory-rich lessons really stick in a child’s mind. So get ready for a hands-on, not-boring, easy-to-understand, simple-to-teach grammar lesson that’s based on the scientific research of Dr. Maria Montessori. After watching my tutorial, I hope you’ll feel confident about how to present the materials to your children, and great about helping them to have a concrete understanding of grammar from a young age.
You can also find the written instructions for my tutorials via digital download in my shops on Teachers Pay Teachers and Etsy.
And here’s your handy, linked material list for the noun lessons:
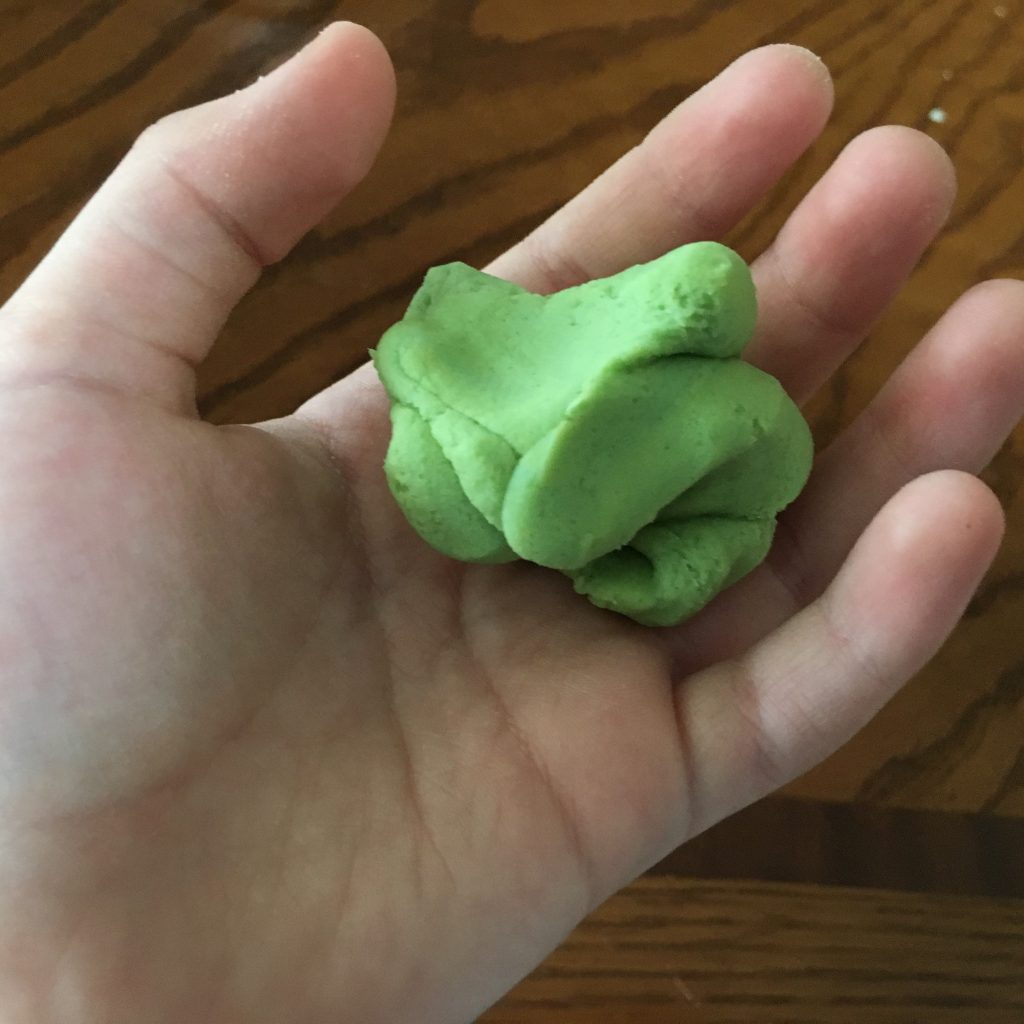
Made with love, this play dough is soft and squishy.
It’s finally spring in Washington state, and we have had some truly blissful days in the garden already. Last week, we spent nearly every moment outside in the backyard. We even took all of our school work and meals outside so that we could feel the soft breeze and feel the sun on our skin.
But this week, it is raining. Pouring in fact, every day for the last four days. You know what they say about April showers, at this rate I’m expecting lots of May flowers! And while we are not at all against playing outside in the rain, it can be cozy to find some fun inside things to do as well. Which brings me to the point of this blog post–play dough.
Last weekend at church the children’s teacher let the kids squish some play dough and make objects from the story as she was telling it. It was a big hit, and it reminded me of just how sessional the sensory experience of play dough really is. That texture! Nothing compares to the feeling of squishing it between your fingers. But there is one thing that I hate about play dough, and that’s the smell. Which is the number one reason that I make my own!
So I surprised my children by leaving some colorful balls of dough for them to discover on the kitchen table. I know my kids, so I knew they would be thrilled with it. I chose to set out only primary colors because I wanted to see if they would remember how to make secondary ones–they did (proud mom moment)! Want to make some play dough for your kids? Here’s the recipe I use! You can make it yourself and surprise them, or involve them in the process–just be careful with the hot water. I like this method because it doesn’t leave me with a terrible sticky pot to clean and even young children can mix the dry ingredients without fear of injury.
Yellow and blue makes green. Gotta love playful learning!
Super Silky, Soft Play Dough:
Ingredients: 1 cup flour 1 cup water 2 tsp cream of tarter 1/3 cup salt 1 TBS vegetable oil gel food coloring (optional)
Directions: In a large bowl, mix flour, water, cream of tarter and salt. Bring water to a boil Add vegetable oil to water Add oil and water mixture to flour mixture, stir to combine Add in your color at this stage if you choose to add some Turn dough onto a protected surface (I use a silicone mat) and knead until smooth.
Tip: If your play dough dries out a little during play, just add a little coconut oil to it and knead it in, it will return the dough to its soft, playable state.
After the novelty of the dough itself wears off a little, you may wish to add cookie cutters, rolling pins, and other fun tools. You could also offer add-ins such as dried flowers (we have lavender), beads, dry noodles or legumes like lentils, split peas and beans!
You can’t force a child to learn, but you can entice them to explore.
Do you have a child who is reluctant to learn? Have you spent hours working on engaging lesson plans only to be completely, and repeatedly, rejected by this child?
And I do mean rejected, because that is exactly how it feels when you put your heart and soul into a lesson plan–one that you are so sure is going to make learning FUN– only to experience flat refusal from said child.
Whether you are a seasoned educator, a brand new teacher or a homeschooling parent, that sinking feeling is the exact same. But let me encourage you to set aside those feelings of rejection, and focus instead on the child who is doing the rejecting. What is going on with this child?
The answer may not be about your careful lesson plans at all. The rejection may be happening for a number of reasons, and the only way to solve the mystery is to go back to square one and observe the child for a while. Here are a few reasons that children resist learning, which I’ve discovered in my observations of this issue:
1. The child feels pressure to perform perfectly. 2. The child is very dreamy and is not interested in anything remotely related to what they perceive as “school.” (Sometimes this child is simply too young for formal education.) 3. The child has had a bad experience with education and feels defensive about learning.
Do any of these examples fit with the child in your life? If so, I have great news for you–I have a trick up my sleeve that works 99.99 percent of the time. I call them learning traps, and they are very effective at grabbing the attention of reluctant learners.
Setting the Trap Learning traps are strategically and sneakily placed, sticky learning materials, which are sure to grab the attention of a specific child. To set the trap, you must first really get to know this kid. What is interesting to her, what does he love, how does she think? Watch the child carefully for at least a week, and take notes. When do they engage? At what point do they tune out? Remember, you’re going to make this learning opportunity super sticky and irresistibly inviting, so don’t skip ahead of the observing step. If you do, you’re sure to fall into the pit of rejection again, and no one is happy in that pit.
Once you’ve collected your data you’re ready to start setting the trap. The next step is crucial. Do not set this activity up the way you ordinarily would, everything about this activity must be novel and interesting. So if you use the Montessori method, throw caution to the wind and put the trays away. Don’t set things up all tidy on the shelf and hope that the child will pick it up–that wasn’t working, remember? Traditional educators, don’t set up a learning center like you usually do. We have to think outside of our usual boxes for the sake of the child! Fear not, we are going to break all the rules (or at least the ones that are not working), but we are going to maintain our principles.
I can’t tell you exactly how to set your trap because it will vary for each child. However I can give you some pointers to help you get started. Here are some things that have worked for us in the past:
Sometimes moving an activity outdoors helps!
Place your learning materials in a highly visible area, where the child can’t help but run across it. It may take a few tries to find the perfect spot in your home or classroom. Don’t be discouraged, these things take time.
Sit quietly and do the work yourself, narrating as you go. Make obvious mistakes and puzzle over them–some children can’t resist being “teachers” and are very helpful to their poor learning guides who can’t seem to figure out the activity on their own.
Leave very detailed instructions and examples of how the work should be done, either written or with photo sequencing for the perfectionist child. Be extra careful never to praise this child for their perfect work, but instead praise them for the process.
Leave the activity half-way complete, some children love to finish what someone else has begun.
For the child who “hates school” make the invitation to learn low-pressure and playful. Very young children may just not yet be ready for structured, academic learning–go against the grain and be OK with this! Celebrate that this child is determined to protect her childhood. Make the trap extra sticky by making it play-based. Practical life skills and gross motor activities are often very appealing to a child with this mindset.
Take the work outdoors. Most children let down their guard when they are outside in nature! If you can incorporate natural items from your environment, even better.
And don’t forget to watch and take notes. If the child ignores your trap, you haven’t made it sticky enough. If they engage briefly, celebrate the small victory and capitalize on whatever part of the learning material they interacted with. Build on the small victories until you know just what will catch this child’s attention.
So there you have it, my fool-proof, sure-fire, sticky and strategic method for catching even the most reluctant learners. Don’t give up on these children, they need you to gently guide them into a lifelong love of learning. If you carefully observe and prepare, you’re sure to catch a little learner of your own.
Questions? Comments? Need help brainstorming solutions for your child? I’m happy to help. Leave a comment, email me or find me on facebook and IG @branchtobloom.