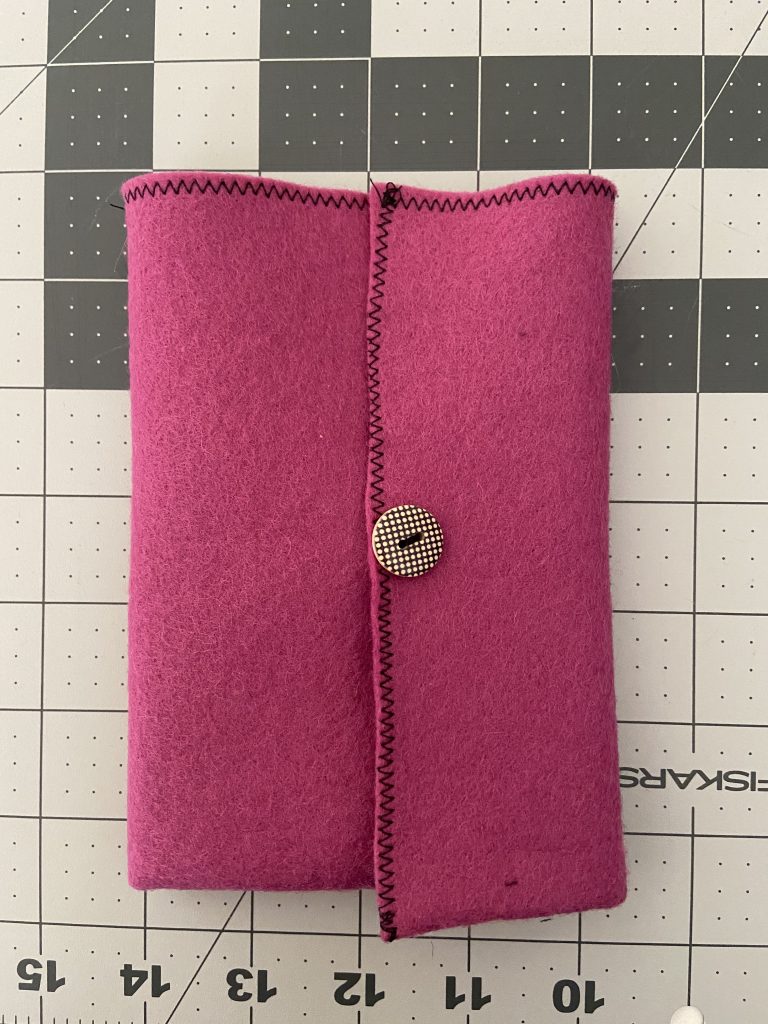
Hey all you DIY Darlings! Although I make gorgeous 3-part card envelopes in my shop, I totally understand that these organic embroidered versions are not always in the budget. So I’ve created this sweet little felt pattern for those of you who want to make your own. Yes I’m talking to you, even if you are not super comfortable with sewing yet!
Felt is very forgiving, if you make a mistake, just remove the stitching and try again!
You can find the pattern here and here is a linked (some are affiliate) list of the materials I used, which you might not have on hand.
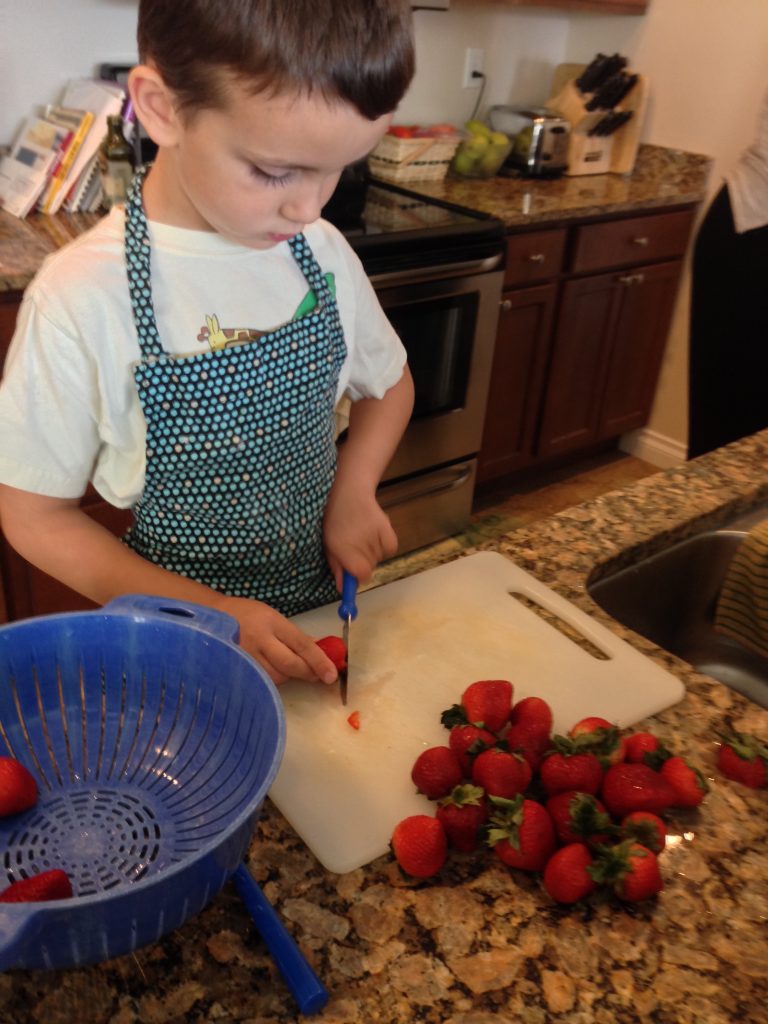
Set your child up for success with step stools and child-sized tools that really work.
Every good Montessorian will tell you to allow your children to do things for themselves. After all, Maria Montessori famously said, “Never help a child with a task at which he feels he can succeed!”
You’ve probably seen the beautiful Instagram and Pinterest images that include things like low cupboards for dishes and step stools at sinks. These accommodations are a hallmark of the prepared Montessori environment, sure, but their implementation doesn’t always look like the perfectly curated images you find on social media platforms.
So while it’s wonderful to watch children doing things for themselves, if you’re a parent trying to follow the child at home, it can be disheartening to see these perfect pictures. The truth is that following the child is messy, and sometimes hard.
There is an actual mess that comes from letting children practice independence. And sometimes you need superhero-level restraint to let them try and fail and try again without intervention.
With this in mind, here are five of my tried- and- true pro tips for keeping your patience in tact and the mess under control.
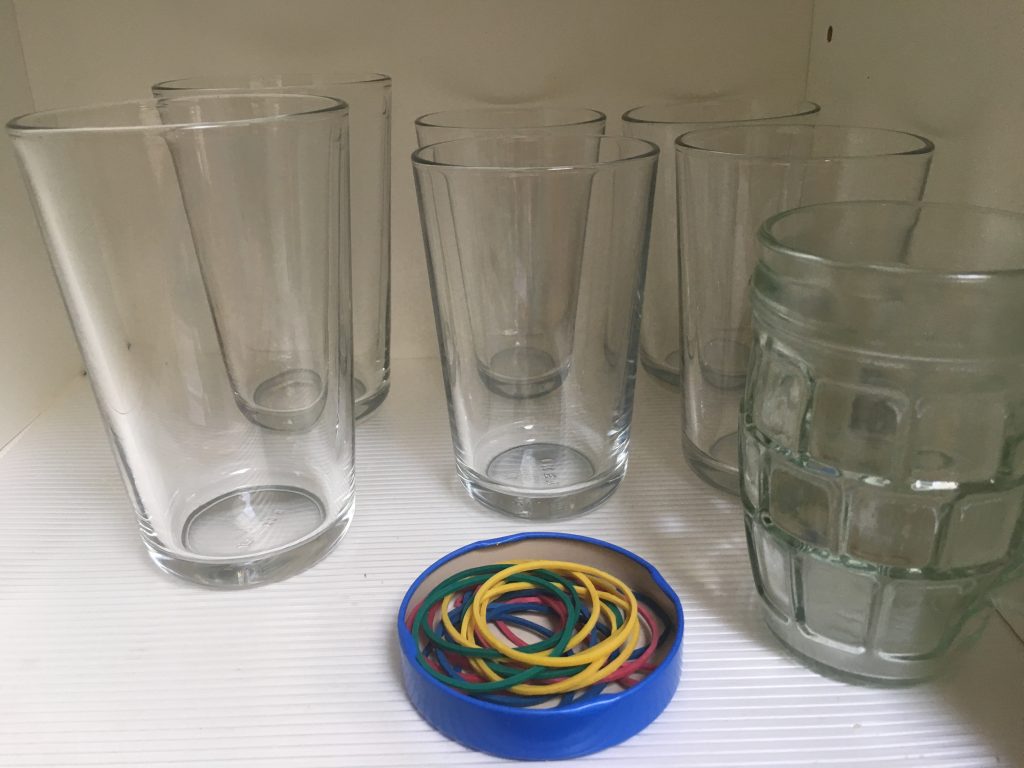
Stop the madness, my genius solution to too many dirty glasses!
Tip One: Rubber Bands OH MY GOSH, the water glasses. Every time a child got a glass of water in this house, they used a new cup. And of course they never finished the water either–just took a sip and left it on the counter, only to forget it was theirs and get a new one 15 minutes later. And yes, of course the children can and should be involved in washing said glasses, however, until your child is able to really notice things like dirt, you’re still going to be rewashing all those cups.
So here is my brilliant solution. It actually works and it’s so simple and cheap; it’s rubber bands. I bought multiple colors of cheap rubber bands from an office supply store and store them in small dish next to the drinking glasses. Each person in our home picked a color and puts one on their glass when they get it out of the cupboard. At the end of the day, we slip off the band, rinse the glass and stick that baby in the dishwasher! Kids have friends over? No problem, everyone gets a color! No more asking whose glass is whose.
Tip Two: Hand Broom and Dust pan Kids get crumbs everywhere. They just do. I bought a hand broom and keep it next to the practical life work. When the children are done eating or doing a messy work (sensory bins anyone?), one child gets the broom and sweeps up before the other wipes the surface with a damp cloth.
Tip Three: A Place for Everything Take a cue from the minimalists and make sure that you don’t have too many options available for your children, and that everything has a specific home to return to. If you want children to help you to keep the space tidy, they must be able to actually put things away. For example, if you want your children to empty the dishwasher, they will need to be able to put the dishes away without help. So if putting away dishes in your home requires a Jenga-like stacking experience, your child won’t be able to help effectively. Do yourself a favor and share some of your excess so that you and your child can easily put away what you really use and need. Same goes for toys, books and clothing. If it’s too difficult to put things away, you will be the one doing all the clean up.
Take a deep breath and remind yourself that you can wait.
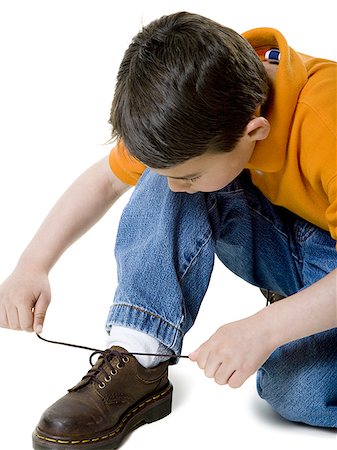
Tip Four: Practice Patience When we are waiting for children to accomplish what we are able to more efficiently do ourselves, it can be hard to hang back and let them flounder. My advice is to practice. In our world of hurry, it doesn’t come naturally to slow down and wait for a child, but that is exactly what you need to learn to do. Teach yourself patience by practicing it. It’s okay to give instruction when needed, but let the child do what he or she is capable of doing without intervening, even if it takes longer–and it will. I often say aloud, “I’ll wait for you.” This simple phrase reassures my kids that I don’t mind waiting, and it reminds me of my goal–I want them to do it themselves and to experience the joy of accomplishment.
Tip Five: Plan More Time This relates to tip four, and it’s really essential to the successfully patient parent. If you need to leave the house or eat a meal or start a lesson at a specific time, plan to give your child more time than you need to do the same tasks. For children ages three to six years, I recommend doubling the time it takes for you to the same activities. For toddlers, triple it. So for example, if it takes you 15 minutes to put on your shoes and coat and gather your things to get in the car, you should expect your toddler to take 45 minutes and your 3-6 year old child to take 30. Seems like a long time doesn’t it? But that’s how long it realistically takes for you to patiently guide them and let them do it themselves.
I hope these tips are helpful to you! Happy learning and enjoy the journey!
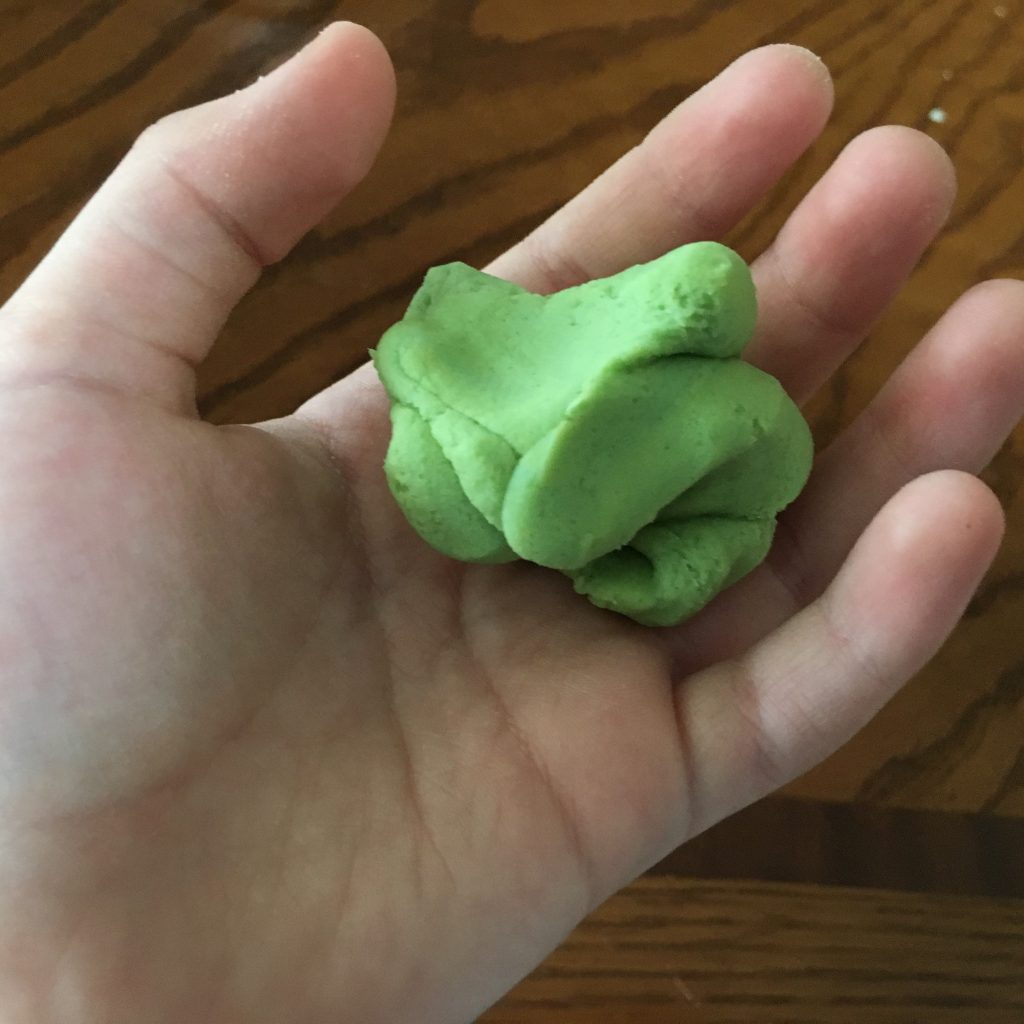
Made with love, this play dough is soft and squishy.
It’s finally spring in Washington state, and we have had some truly blissful days in the garden already. Last week, we spent nearly every moment outside in the backyard. We even took all of our school work and meals outside so that we could feel the soft breeze and feel the sun on our skin.
But this week, it is raining. Pouring in fact, every day for the last four days. You know what they say about April showers, at this rate I’m expecting lots of May flowers! And while we are not at all against playing outside in the rain, it can be cozy to find some fun inside things to do as well. Which brings me to the point of this blog post–play dough.
Last weekend at church the children’s teacher let the kids squish some play dough and make objects from the story as she was telling it. It was a big hit, and it reminded me of just how sessional the sensory experience of play dough really is. That texture! Nothing compares to the feeling of squishing it between your fingers. But there is one thing that I hate about play dough, and that’s the smell. Which is the number one reason that I make my own!
So I surprised my children by leaving some colorful balls of dough for them to discover on the kitchen table. I know my kids, so I knew they would be thrilled with it. I chose to set out only primary colors because I wanted to see if they would remember how to make secondary ones–they did (proud mom moment)! Want to make some play dough for your kids? Here’s the recipe I use! You can make it yourself and surprise them, or involve them in the process–just be careful with the hot water. I like this method because it doesn’t leave me with a terrible sticky pot to clean and even young children can mix the dry ingredients without fear of injury.
Yellow and blue makes green. Gotta love playful learning!
Super Silky, Soft Play Dough:
Ingredients: 1 cup flour 1 cup water 2 tsp cream of tarter 1/3 cup salt 1 TBS vegetable oil gel food coloring (optional)
Directions: In a large bowl, mix flour, water, cream of tarter and salt. Bring water to a boil Add vegetable oil to water Add oil and water mixture to flour mixture, stir to combine Add in your color at this stage if you choose to add some Turn dough onto a protected surface (I use a silicone mat) and knead until smooth.
Tip: If your play dough dries out a little during play, just add a little coconut oil to it and knead it in, it will return the dough to its soft, playable state.
After the novelty of the dough itself wears off a little, you may wish to add cookie cutters, rolling pins, and other fun tools. You could also offer add-ins such as dried flowers (we have lavender), beads, dry noodles or legumes like lentils, split peas and beans!
Caught in a Learning Trap. They didn’t stand a chance.
We have had snow, snow and more snow up here in the Pacific Northwest this month! And although I love the white stuff, I’ll admit that all the bundling, sledding and trudging though the snowmageddon we’ve been enduring this February is getting a little old.
Even worse, I noticed that this week my two children who usually LOVE the outdoors and ADORE sledding are opting for more inside play. And while that’s totally fine, I really like to encourage them to get outside as much as possible!
With this in mind, I decided that this week’s learning trap was going to need to be something that would reignite the delight they have for snow. I really wanted to recapture that joy that comes with the very first snowfall of the year. You know the joy I’m talking about, it’s the excitement you hear in their voices when they exclaim “LOOK! It’s SNOWING!”
Because I wanted my learning trap to be extra effective and super sticky, I observed my kids and took notes first. I watched carefully and asked myself, “What is it that’s capturing my little boys’ attention this week?” I saw tinkering, lots of drawing and creating. I also saw mixing and baking and stirring. And…I’ve got it! Time to set the trap.
Learning traps are super sticky, sensationally superb, learning opportunities that children can’t resist. And what makes them so irresistible is the ridiculous amount of research that goes into setting the trap.
Probably you’ve heard of mud kitchens, right? Well earlier in the week I saw another mamma on Instagram (firebirds_and_warriors) who had set up a beautiful mud kitchen for her kiddos and I thought, that’s exactly the kind of thing that my kids really are craving right now. Only…DESPAIR…there’s no mud here.
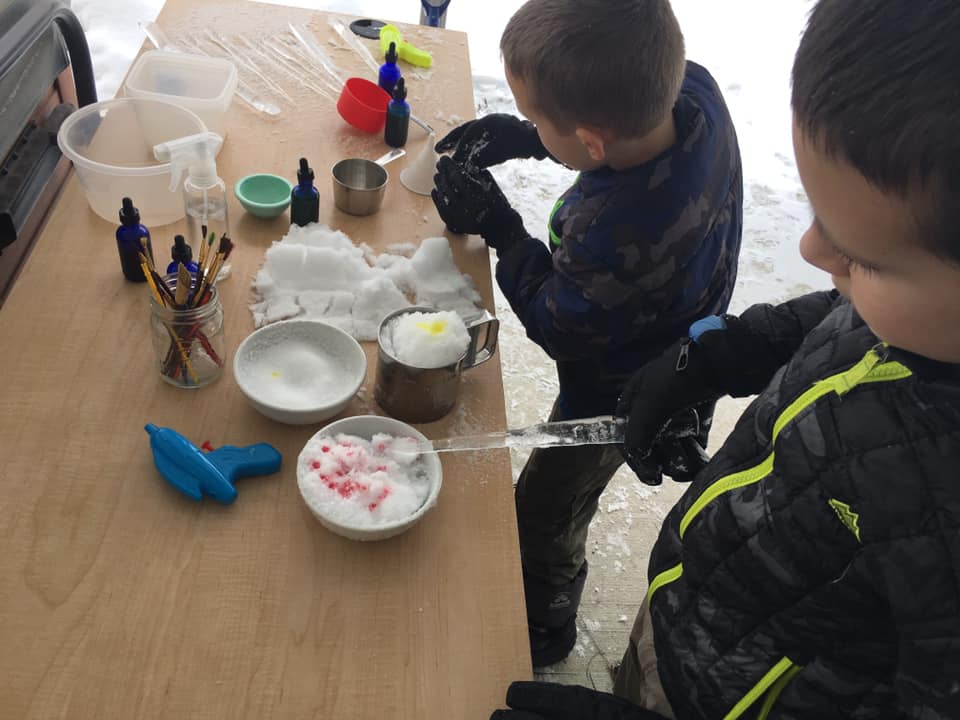
So then I thought in my little head “Jennifer, you better work with what you’ve got, and bloom where you’re planted, stop feeling sorry for yourself about the fact that you have two feet of snow at the end of February and make something of it.” Or something to that effect anyway… I often give myself little pep talks…but I digress. My point (I’m getting there, I promise) is that this is what inspired my newest learning trap–SNOW KITCHEN.
Use objects that will captivate your littler learners based on their current interests.
Maybe you’d like to set one up too! And if you don’t have snow, use mud, or sand, or whatever other material you’re blessed with, don’t despair! I can tell you that the trap was an instant success, I hardly got it set before my little honeybees were buzzing around their sticky new work. And they’ve been happily playing outside now for an hour, which is what gave me the time to tell all you lovely people about this fun activity.
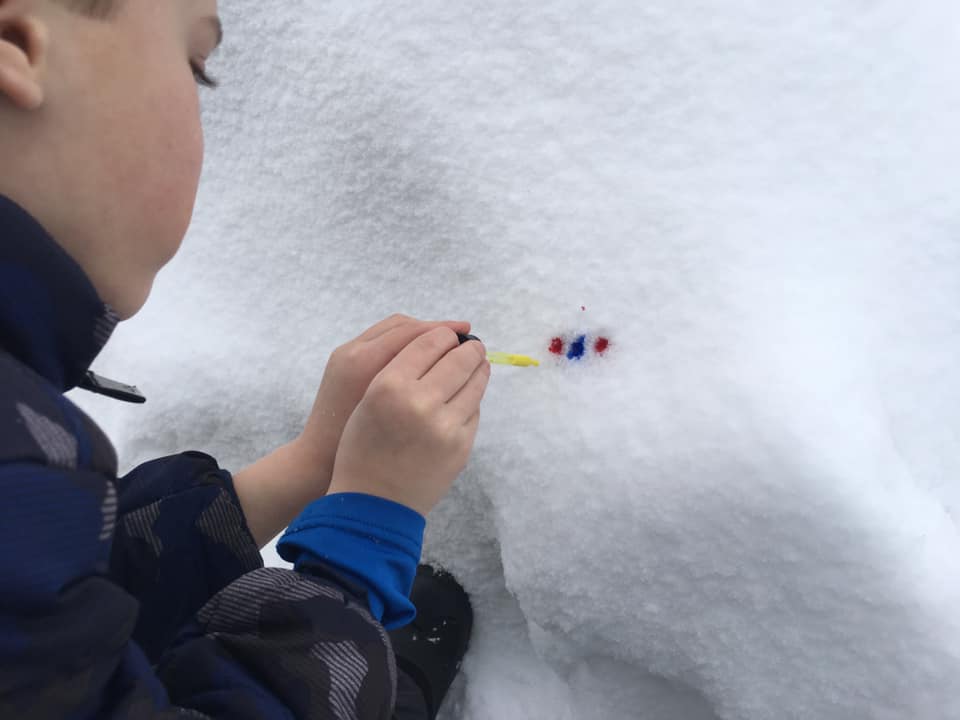
Snow isn’t just for sledding, snow ball fights and snow angels.
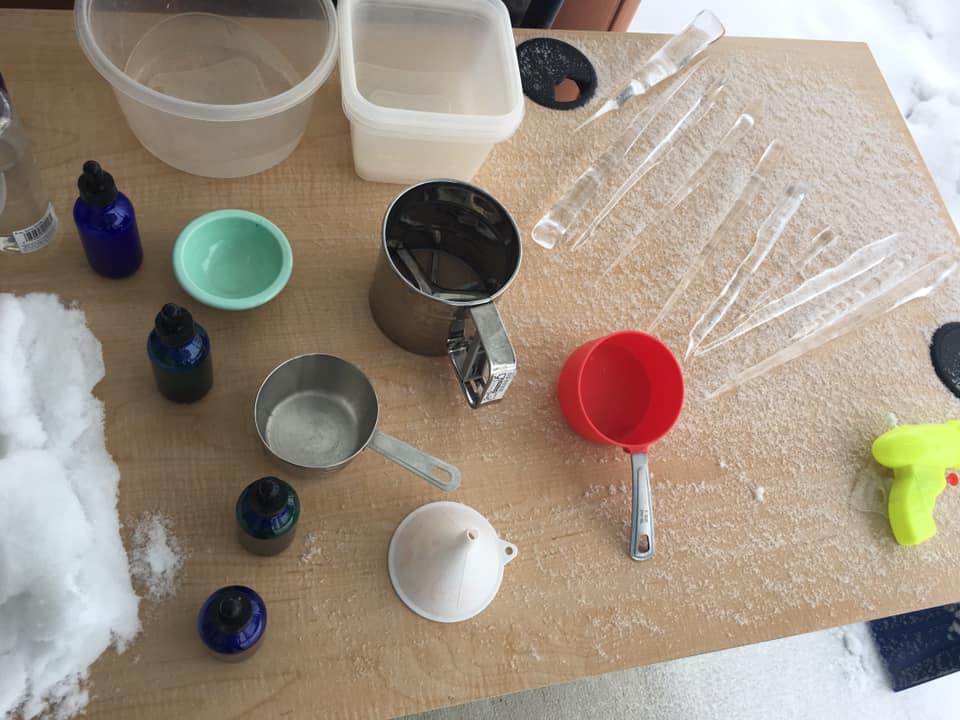
How to set up a snow kitchen:
Observe, make sure your kids will enjoy this activity by watching to see what interests them. Mine are excited about mixing, colors, building and making forms right now so I included objects for this.
Find something elevated that won’t be ruined by water. (We have this old desk that came with our house. It’s in terrible shape and so I have repurposed it for outdoor use.)
Find household objects that will meet your children’s needs and place them on the outdoor space. Make sure your children can see it from indoors or casually mention it. You could even take a quick photo and show it to them (though if they are reluctant learners I would say it’s a photo of the shed, or of the dog, or something else in the picture and let them discover the trap hidden in the background!)
Continue to observe, what is used, what isn’t? Add to and subtract from the items to keep it interesting.
Remember, if you don’t catch any learners on your first try, it’s OK. You just need to observe a little longer and make small changes until you get the formula just right. Happy learning and good luck!
You can’t force a child to learn, but you can entice them to explore.
Do you have a child who is reluctant to learn? Have you spent hours working on engaging lesson plans only to be completely, and repeatedly, rejected by this child?
And I do mean rejected, because that is exactly how it feels when you put your heart and soul into a lesson plan–one that you are so sure is going to make learning FUN– only to experience flat refusal from said child.
Whether you are a seasoned educator, a brand new teacher or a homeschooling parent, that sinking feeling is the exact same. But let me encourage you to set aside those feelings of rejection, and focus instead on the child who is doing the rejecting. What is going on with this child?
The answer may not be about your careful lesson plans at all. The rejection may be happening for a number of reasons, and the only way to solve the mystery is to go back to square one and observe the child for a while. Here are a few reasons that children resist learning, which I’ve discovered in my observations of this issue:
1. The child feels pressure to perform perfectly. 2. The child is very dreamy and is not interested in anything remotely related to what they perceive as “school.” (Sometimes this child is simply too young for formal education.) 3. The child has had a bad experience with education and feels defensive about learning.
Do any of these examples fit with the child in your life? If so, I have great news for you–I have a trick up my sleeve that works 99.99 percent of the time. I call them learning traps, and they are very effective at grabbing the attention of reluctant learners.
Setting the Trap Learning traps are strategically and sneakily placed, sticky learning materials, which are sure to grab the attention of a specific child. To set the trap, you must first really get to know this kid. What is interesting to her, what does he love, how does she think? Watch the child carefully for at least a week, and take notes. When do they engage? At what point do they tune out? Remember, you’re going to make this learning opportunity super sticky and irresistibly inviting, so don’t skip ahead of the observing step. If you do, you’re sure to fall into the pit of rejection again, and no one is happy in that pit.
Once you’ve collected your data you’re ready to start setting the trap. The next step is crucial. Do not set this activity up the way you ordinarily would, everything about this activity must be novel and interesting. So if you use the Montessori method, throw caution to the wind and put the trays away. Don’t set things up all tidy on the shelf and hope that the child will pick it up–that wasn’t working, remember? Traditional educators, don’t set up a learning center like you usually do. We have to think outside of our usual boxes for the sake of the child! Fear not, we are going to break all the rules (or at least the ones that are not working), but we are going to maintain our principles.
I can’t tell you exactly how to set your trap because it will vary for each child. However I can give you some pointers to help you get started. Here are some things that have worked for us in the past:
Sometimes moving an activity outdoors helps!
Place your learning materials in a highly visible area, where the child can’t help but run across it. It may take a few tries to find the perfect spot in your home or classroom. Don’t be discouraged, these things take time.
Sit quietly and do the work yourself, narrating as you go. Make obvious mistakes and puzzle over them–some children can’t resist being “teachers” and are very helpful to their poor learning guides who can’t seem to figure out the activity on their own.
Leave very detailed instructions and examples of how the work should be done, either written or with photo sequencing for the perfectionist child. Be extra careful never to praise this child for their perfect work, but instead praise them for the process.
Leave the activity half-way complete, some children love to finish what someone else has begun.
For the child who “hates school” make the invitation to learn low-pressure and playful. Very young children may just not yet be ready for structured, academic learning–go against the grain and be OK with this! Celebrate that this child is determined to protect her childhood. Make the trap extra sticky by making it play-based. Practical life skills and gross motor activities are often very appealing to a child with this mindset.
Take the work outdoors. Most children let down their guard when they are outside in nature! If you can incorporate natural items from your environment, even better.
And don’t forget to watch and take notes. If the child ignores your trap, you haven’t made it sticky enough. If they engage briefly, celebrate the small victory and capitalize on whatever part of the learning material they interacted with. Build on the small victories until you know just what will catch this child’s attention.
So there you have it, my fool-proof, sure-fire, sticky and strategic method for catching even the most reluctant learners. Don’t give up on these children, they need you to gently guide them into a lifelong love of learning. If you carefully observe and prepare, you’re sure to catch a little learner of your own.
Questions? Comments? Need help brainstorming solutions for your child? I’m happy to help. Leave a comment, email me or find me on facebook and IG @branchtobloom.
Watch Carefully It’s a new calendar year and this is the mid-way point for our school year. This is one of the times that I like to spend time really reevaluating our learning environment.
We are homeschooling our children, and I love it. But I haven’t always been a homeschooler. Before my children were born, I was fortunate to study and work in a Montessori school. And one of the most important lessons I learned as a Montessori guide was the power of observing the children.
Before you add anything beyond the basics to your classroom, I urge you to take a note from Maria Montessori and spend some time really getting to know what makes them tick. If you are a homeschooler like me, you’re probably thinking that you already know your children like the back of your hand. But if you take some time to quietly watch them, and take notes, you may be surprised!
Watch for This
Ask yourself what they are most excited about. Don’t just think about which subject areas they love, but focus on which parts of that subject excite them. What do they struggle with, and why?
Do your best to never interrupt a child who is engaged in her work.
And one other thing. Take the advice of Dr. Montessori herself and be as silent and still as possible while you observe. Don’t let the children know what you are doing, and don’t interrupt them. Now is not the time to help or correct them, just watch carefully. Unless they are in danger, stand down!
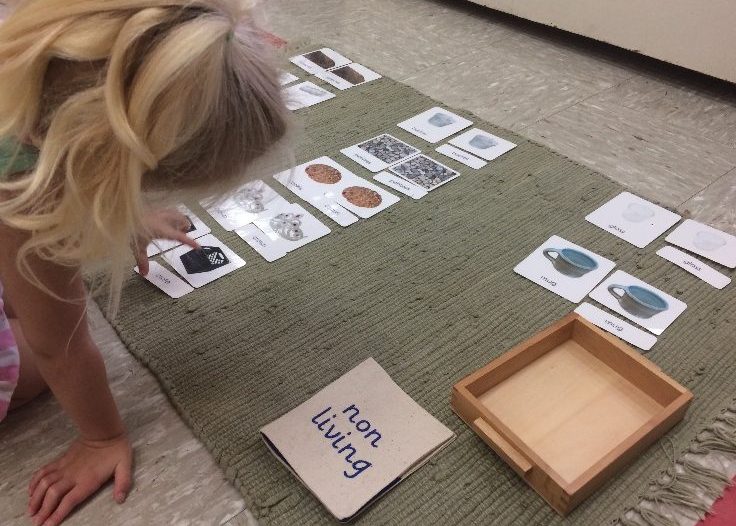
If you have smaller children get down on your knees and observe the learning environment from their perspective. Your goal is to make your space as easy for them independently access as possible. That may mean adding step stools or placing dishes on a lower shelf in the kitchen, for example. How about adding a hamper that they can carry to the washing machine themselves?
After you have spent at least a week on this careful study, sit down with your notes and start to brainstorm about how to create a rich environment that will spark their enthusiasm for learning. Then, carefully prepare the learning space in a way that is easy for them to navigate.
Your time observing is by no means finished. Continue to watch the way that your children interact with their learning environment and make adjustments accordingly. I keep a notebook in my apron pocket to jot down notes for myself. You could use a smart phone of course, as long as it doesn’t distract your children!
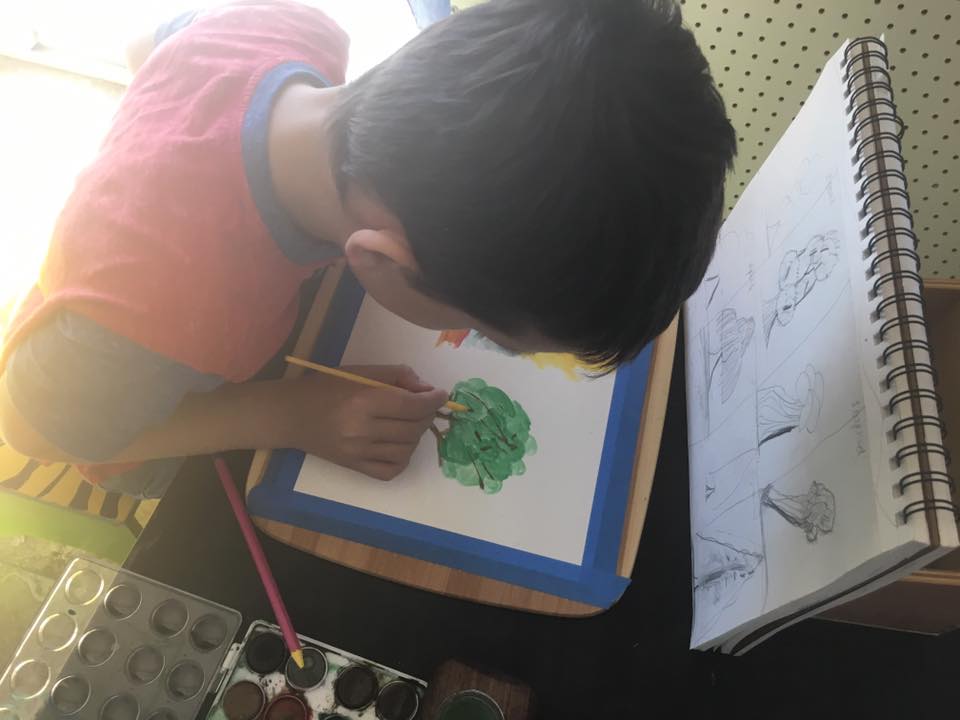
Low tables and easy access to creative supplies facilitate creativity.
Tidy space
One of the hallmarks of a Montessori learning environment is its tidiness. To the casual observer it can appear cold, almost sterile. However it has a purpose, which is to prevent distraction and draw attention to the beautiful materials. Observe your children carefully and you will be able to tell if you need to remove some distracting items from your space as well. But keep in mind that your home doesn’t need to look like a Montessori school. Trying to perfectly emulate a school environment is neither practical nor optimal for homeschooling families.
I can tell you that our classroom at home is much different from the classroom that I previously worked in, but a home environment has advantages as well. Observe your children, and you will soon discover what works best for them!